New Adjustment Layer – Curves…

Share this:
Today I want to talk about the New Adjustment Layer that I use the most in Photoshop, “Curves”.
Curves is great for photos that are taken with bad lighting.
For Example: You have a picture of someone wearing a white dress and the photo was shot in low light so the dress does not look white. With Curves, you can make that dress white.
1. Pick a Photo that you want to edit.

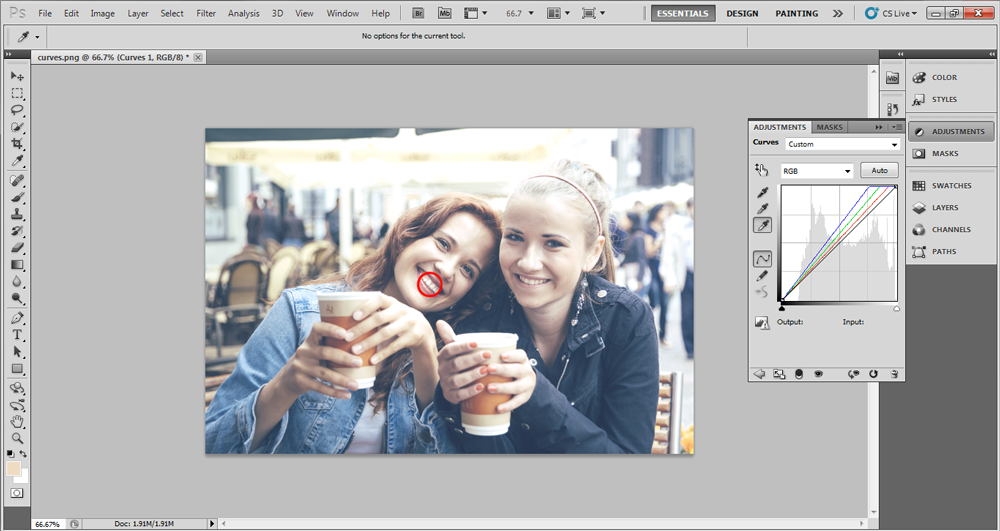
I chose to work with this photo because of the low contrast. The shadows are not very dark and the highlights are not that bright.
2. Layer – New Adjustment Layer – Curves…

3. White Point
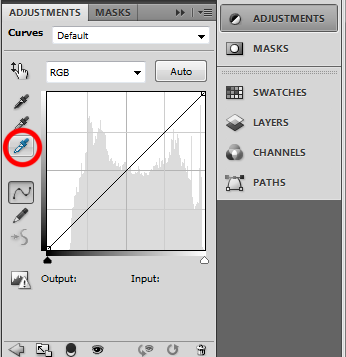
On Curves you have white point, gray point, and black point.
When you select white point, you are then telling photoshop what should be white.
Normally you pick the brightest thing in the picture. However, for this example I’m going to say the girl on the left’s teeth are not only white, but the brightest thing in the photo. When I click her teeth, Curves make that color white and adjusts everything else accordingly.
4. Gray Point
The Gray Point button is above the White Point button. Gray point is for mid tones. So not the brightest part of the photo and not the darkest area, but the middle.
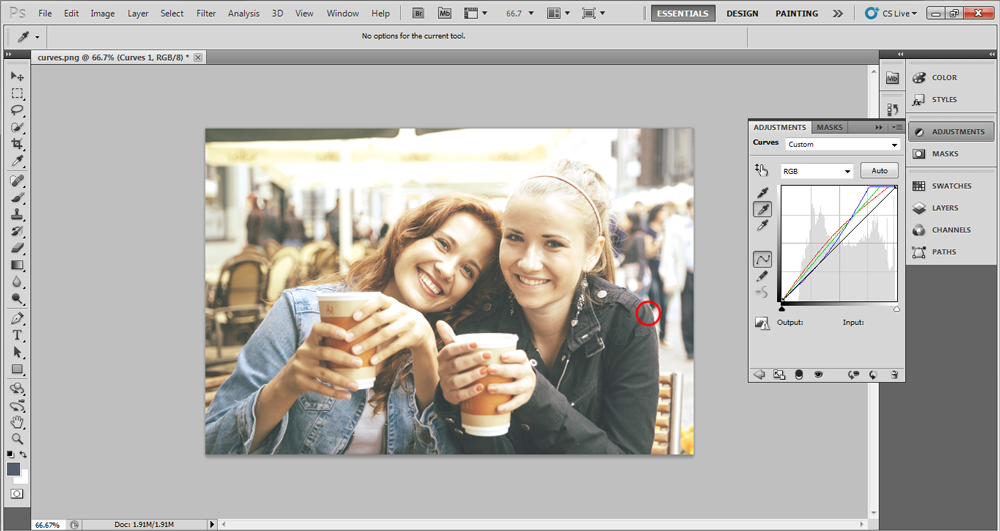
For this photo, I selected the girl on the right’s jacket.
5. Black Point
The Black Point button is above the Gray Point button. Black Point is for the darkest area of the photo.

You can play around with this and see what looks best for the style you’re going for. Maybe you want it to be darker than what it is and so you wouldn’t pick the darkest area of the photo. Instead you pick something right above it and that will darken the whole photo.
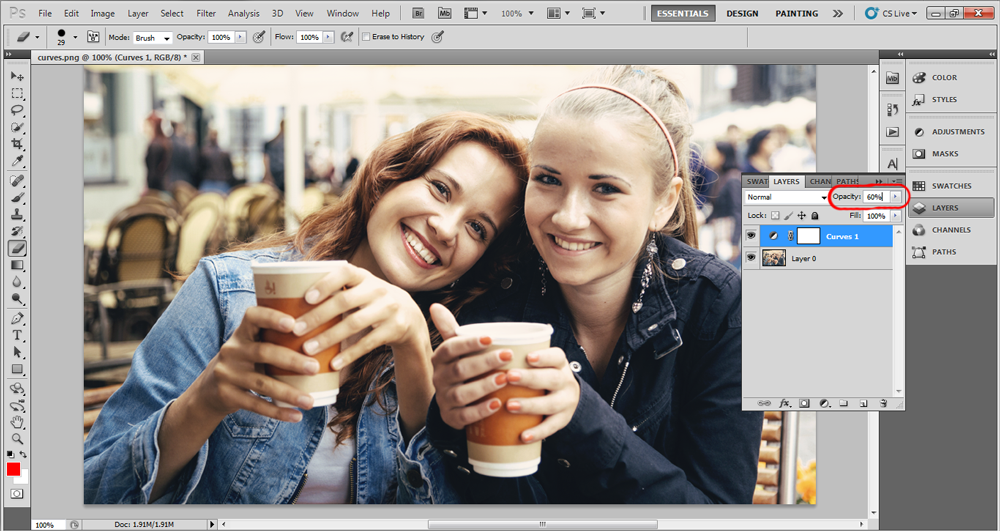
6. Opacity
Here’s a before and after of the photo.


Let’s say the changes are too drastic and you want them to be more subtle. Simply lower the Opacity. The lower the Opacity number the closer it will go back to the original photo.
Summary
Curves is a great tool to use if your photo has something white in it and it isn’t showing up as such. I hope this tutorial helps and you start using Curves as much as I do.
Original
60% Opacity