Texturing
Share this:
Small details are easy to overlook and often go unnoticed. The small scratches and nicks on an object are commonplace and add character to the piece. Without them, the object could look slightly off or out of place. A texture on an object can be the result of any number of processes and elements it may have been exposed to. Similar effects can be achieved and applied to digital images through both Adobe Photoshop and Illustrator.
Types of Textures
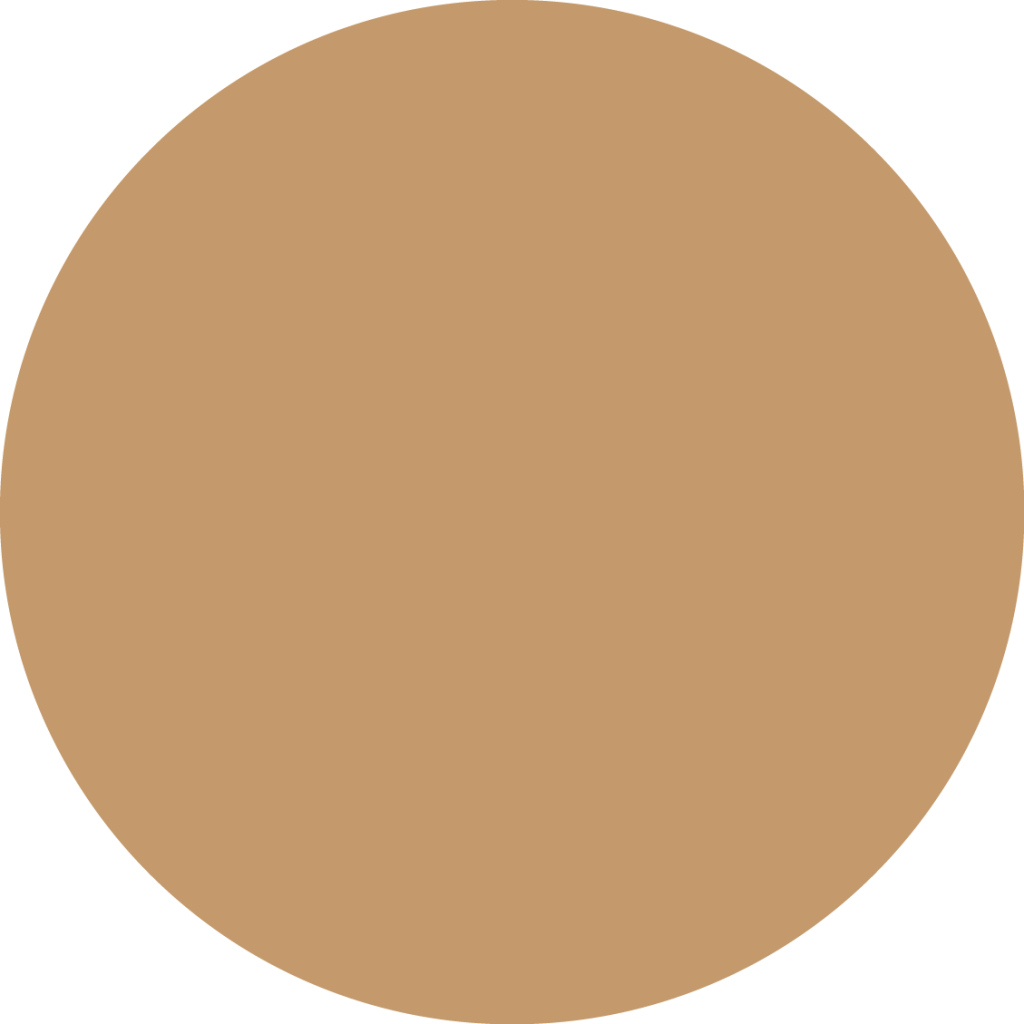
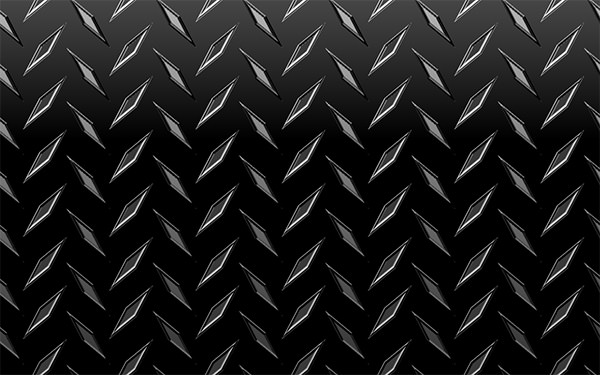
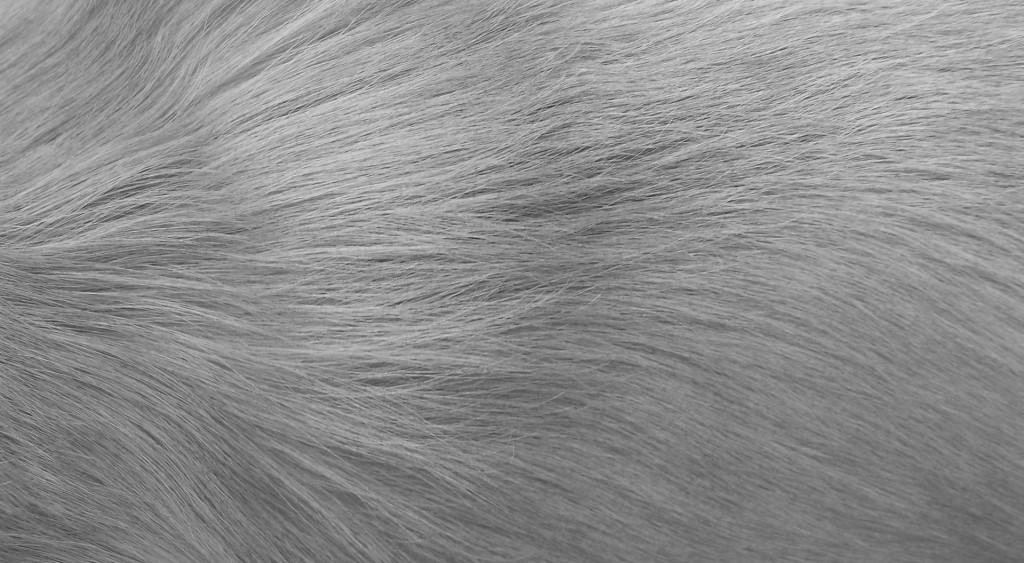
Textures themselves relay different messages about the feel and composition of an item. A soft texture communicates something that a jagged and corroded look does not. The lines and ridges in a plank of wood are visibly different than the lines in a sheet of brushed aluminum. Various textures can match the needs and themes of the messages they are added to. An invitation to a rustic-themed event may have a slightly weathered texture applied to it. An ad for heavy machinery may use a rough metal texture to help convey the durability of the product. When the texture matches the theme of the message it can serve to reinforce and strengthen the presentation.
Applying a Digital Texture
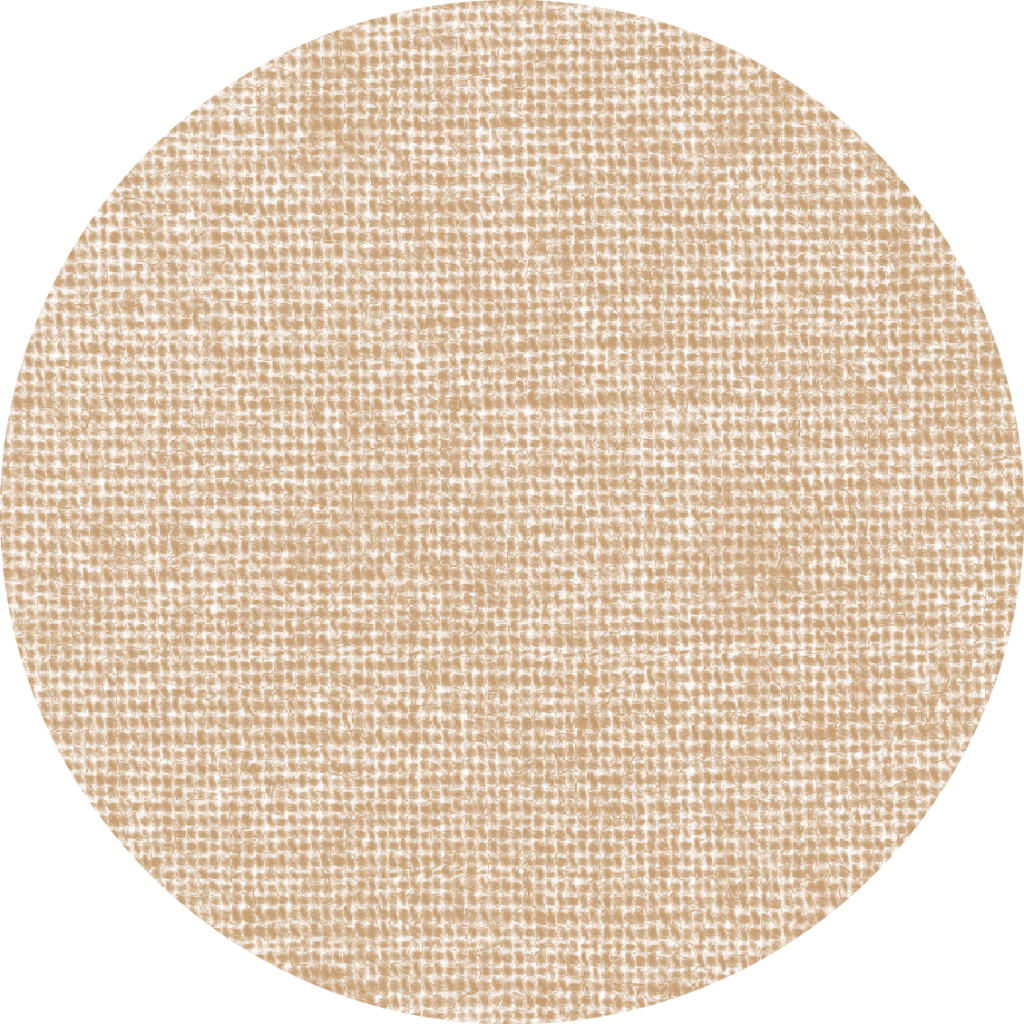
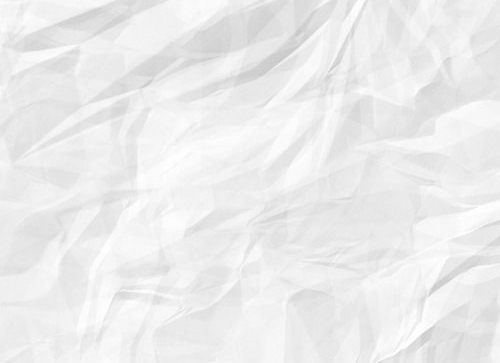
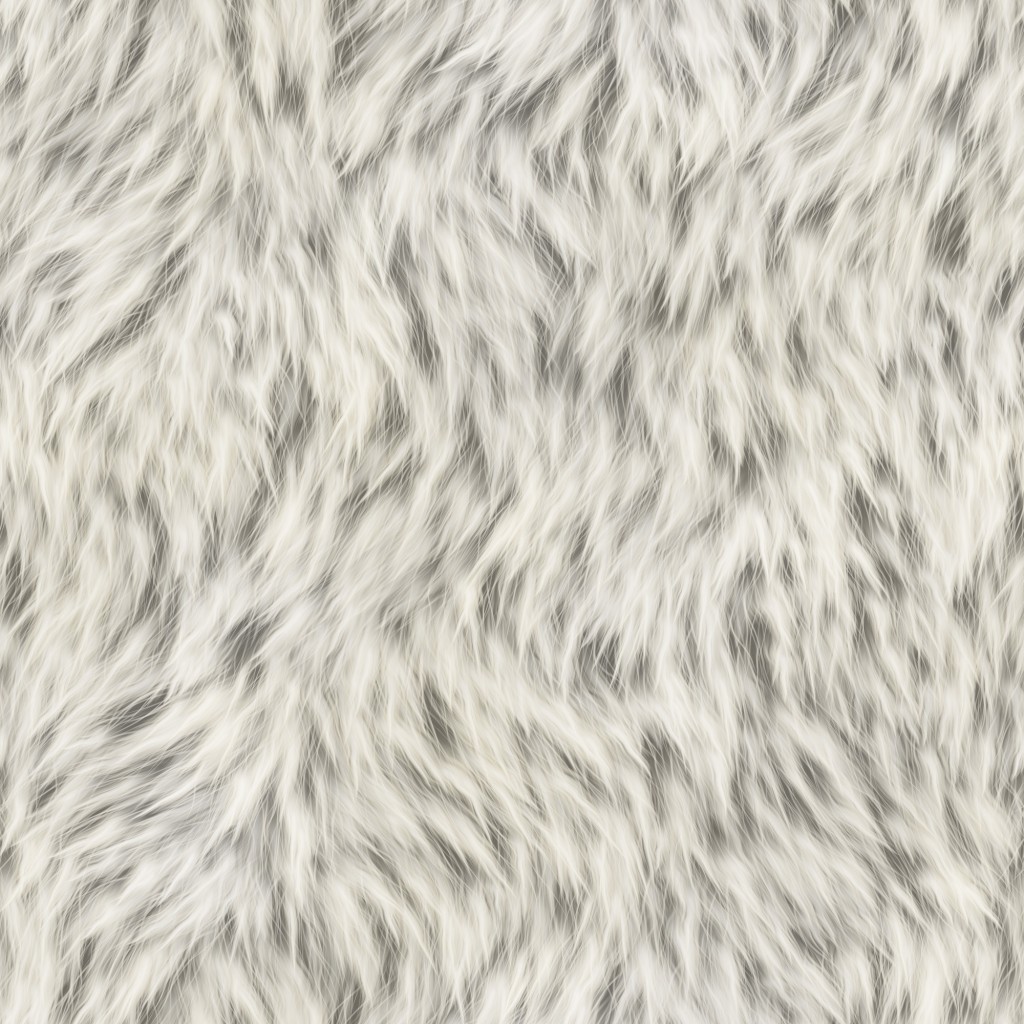
The texturing possibilities made available by design software are nearly limitless. There are several black and white textures online which can be applied to images through Illustrator. I’ll be using a rough weaved fabric texture for my image. Once you’ve found a suitable texture to use, open your image in Illustrator. Place the texture into the image with “Shift+Ctrl+P”. Once the texture is there, select both the texture and the image you wish to apply it to with “Shift+Left Click”. Once selected, go into the “Transparency” menu, marked by a symbol with 2 circles, one of them being more faint than the other. You can also find “Transparency” under the “Window” tab above. From there you should find a button that says “Make Mask”. Your texture should then appear in the black square as an “Opacity Mask”. Clicking on its square allows you to edit it independently from the base image. You can also adjust the opacity of the mask, causing it to be subtler or more pronounced. This process can be done with many various textures and you can achieve many different results.